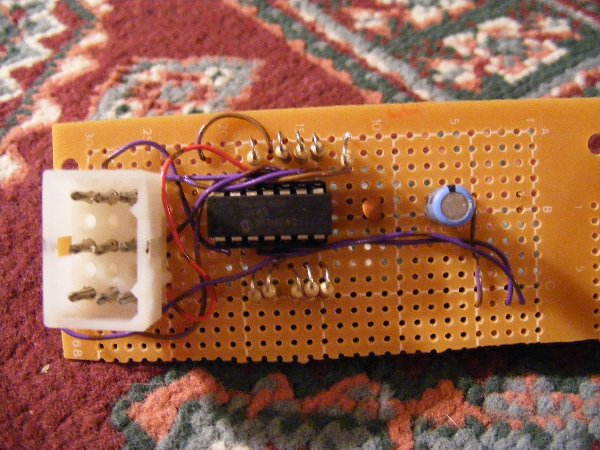
HERO Robot Remote Control

Hero Robot DressedHero Robot Undressed


 Build the HERO 1 Robot Radio Interface Project!
Click here for Zipped files!


Hero 1 Robot Radio Control Interface using the BASIC STAMP II
by RC Irace


This interface uses a Basic Stamp II controller which is wired to the
Teaching Pendant Connector (molex style).  It is used to simulate most of the functions
on the Teaching Pendant Controller. The 5V power for the STAMP
is supplied by this connector.
A small circuit board with push buttons and resistors (see SCHEMATIC)
is used to replace the joystick potentiometer providing 8 discrete servo values.
These values are read by the BASIC STAMP program "futabaherobot2.bs2"

The source code reads in the pulse width signal provided by the radio receiver,
(Chan 2 via P1) and returns a value which calls up various subroutines.
These subroutines then generate the binary data (P8-P15) needed to tell
the HERO which ARM or BODY functions are desired.
Chan 1 (P2)is read in also, and tells the HERO which direction to go, LEFT or RIGHT.

This circuit was built and tested fine.   It is, of course, to be used at your own risk.
The radio used was a 2 CH. FUTABA which worked well.


Hero Transmitter Buttons

Hero Receiver Plug

Hero Receiver Board

Hero Radio Transmitter

Back to Home

 
Visitor Number

Mail: rich
; All contents of these WWW pages © 2003 RCI